
I did it. For the first time ever I carved a pumpkin I’m not embarrassed to show anyone. Huzzah! I still kind of think that using a stencil is cheating, but after years of duds I was willing to try anything. Once I successfully got the thing taped to the pumpkin, it was a breeze. It’s sad to think it won’t last forever so I did a little research on how to keep it looking fresh for as long as possible. Here are some of the tips that have helped so far:
Before carving
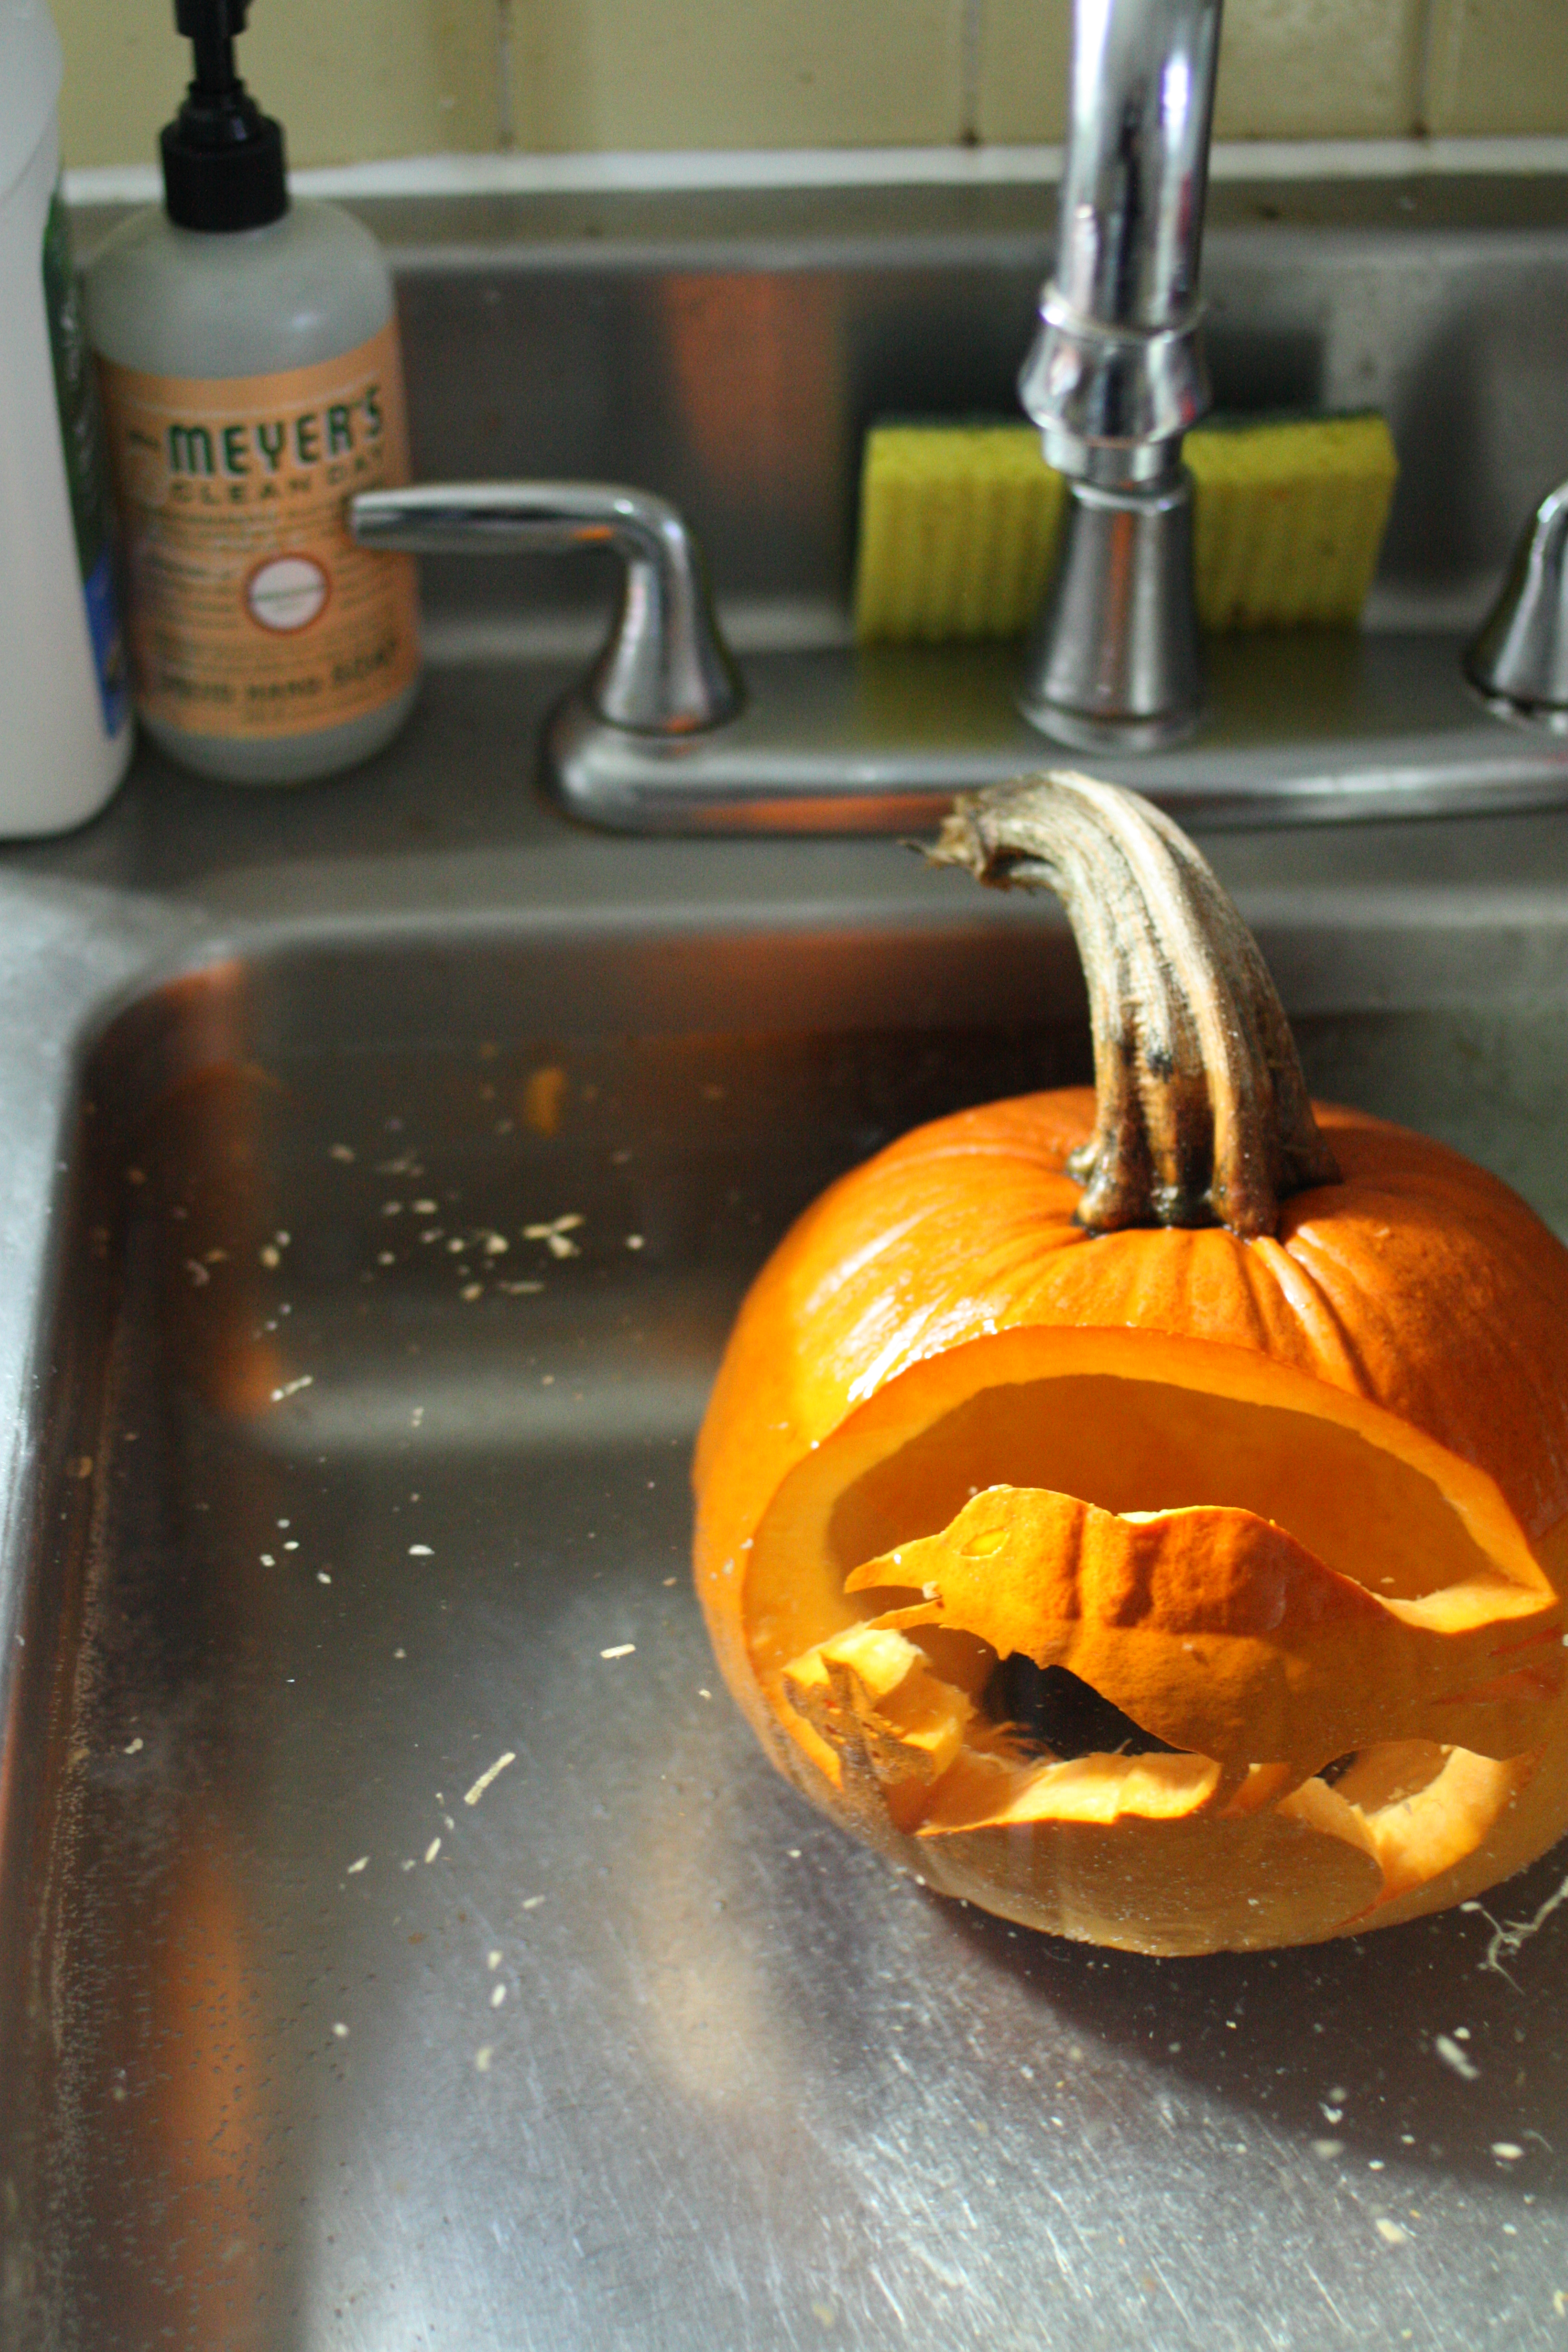
– Wash your pumpkin with warm soapy water to clean it and reduce the spread of mold. *FYI: Pumpkins are often fertilized with manure so you don’t want to skip this step. Just learned that this year. Fun!
 After carving
– Immediately soak your pumpkin (yes, the entire thing) in a sink, bucket, or tub filled with a simple DIY Pumpkin Preservative mixture of 2 teaspoons of bleach per gallon of cold water. I also added two trays of ice cubes to mine and forced them into the interior cavity of my carved pumpkin to help keep it chilled while it re-hydrated. Soak for 8 hour or overnight. (I promise it will not turn your pumpkin to mush.) This re-hydrates and discourages mold.
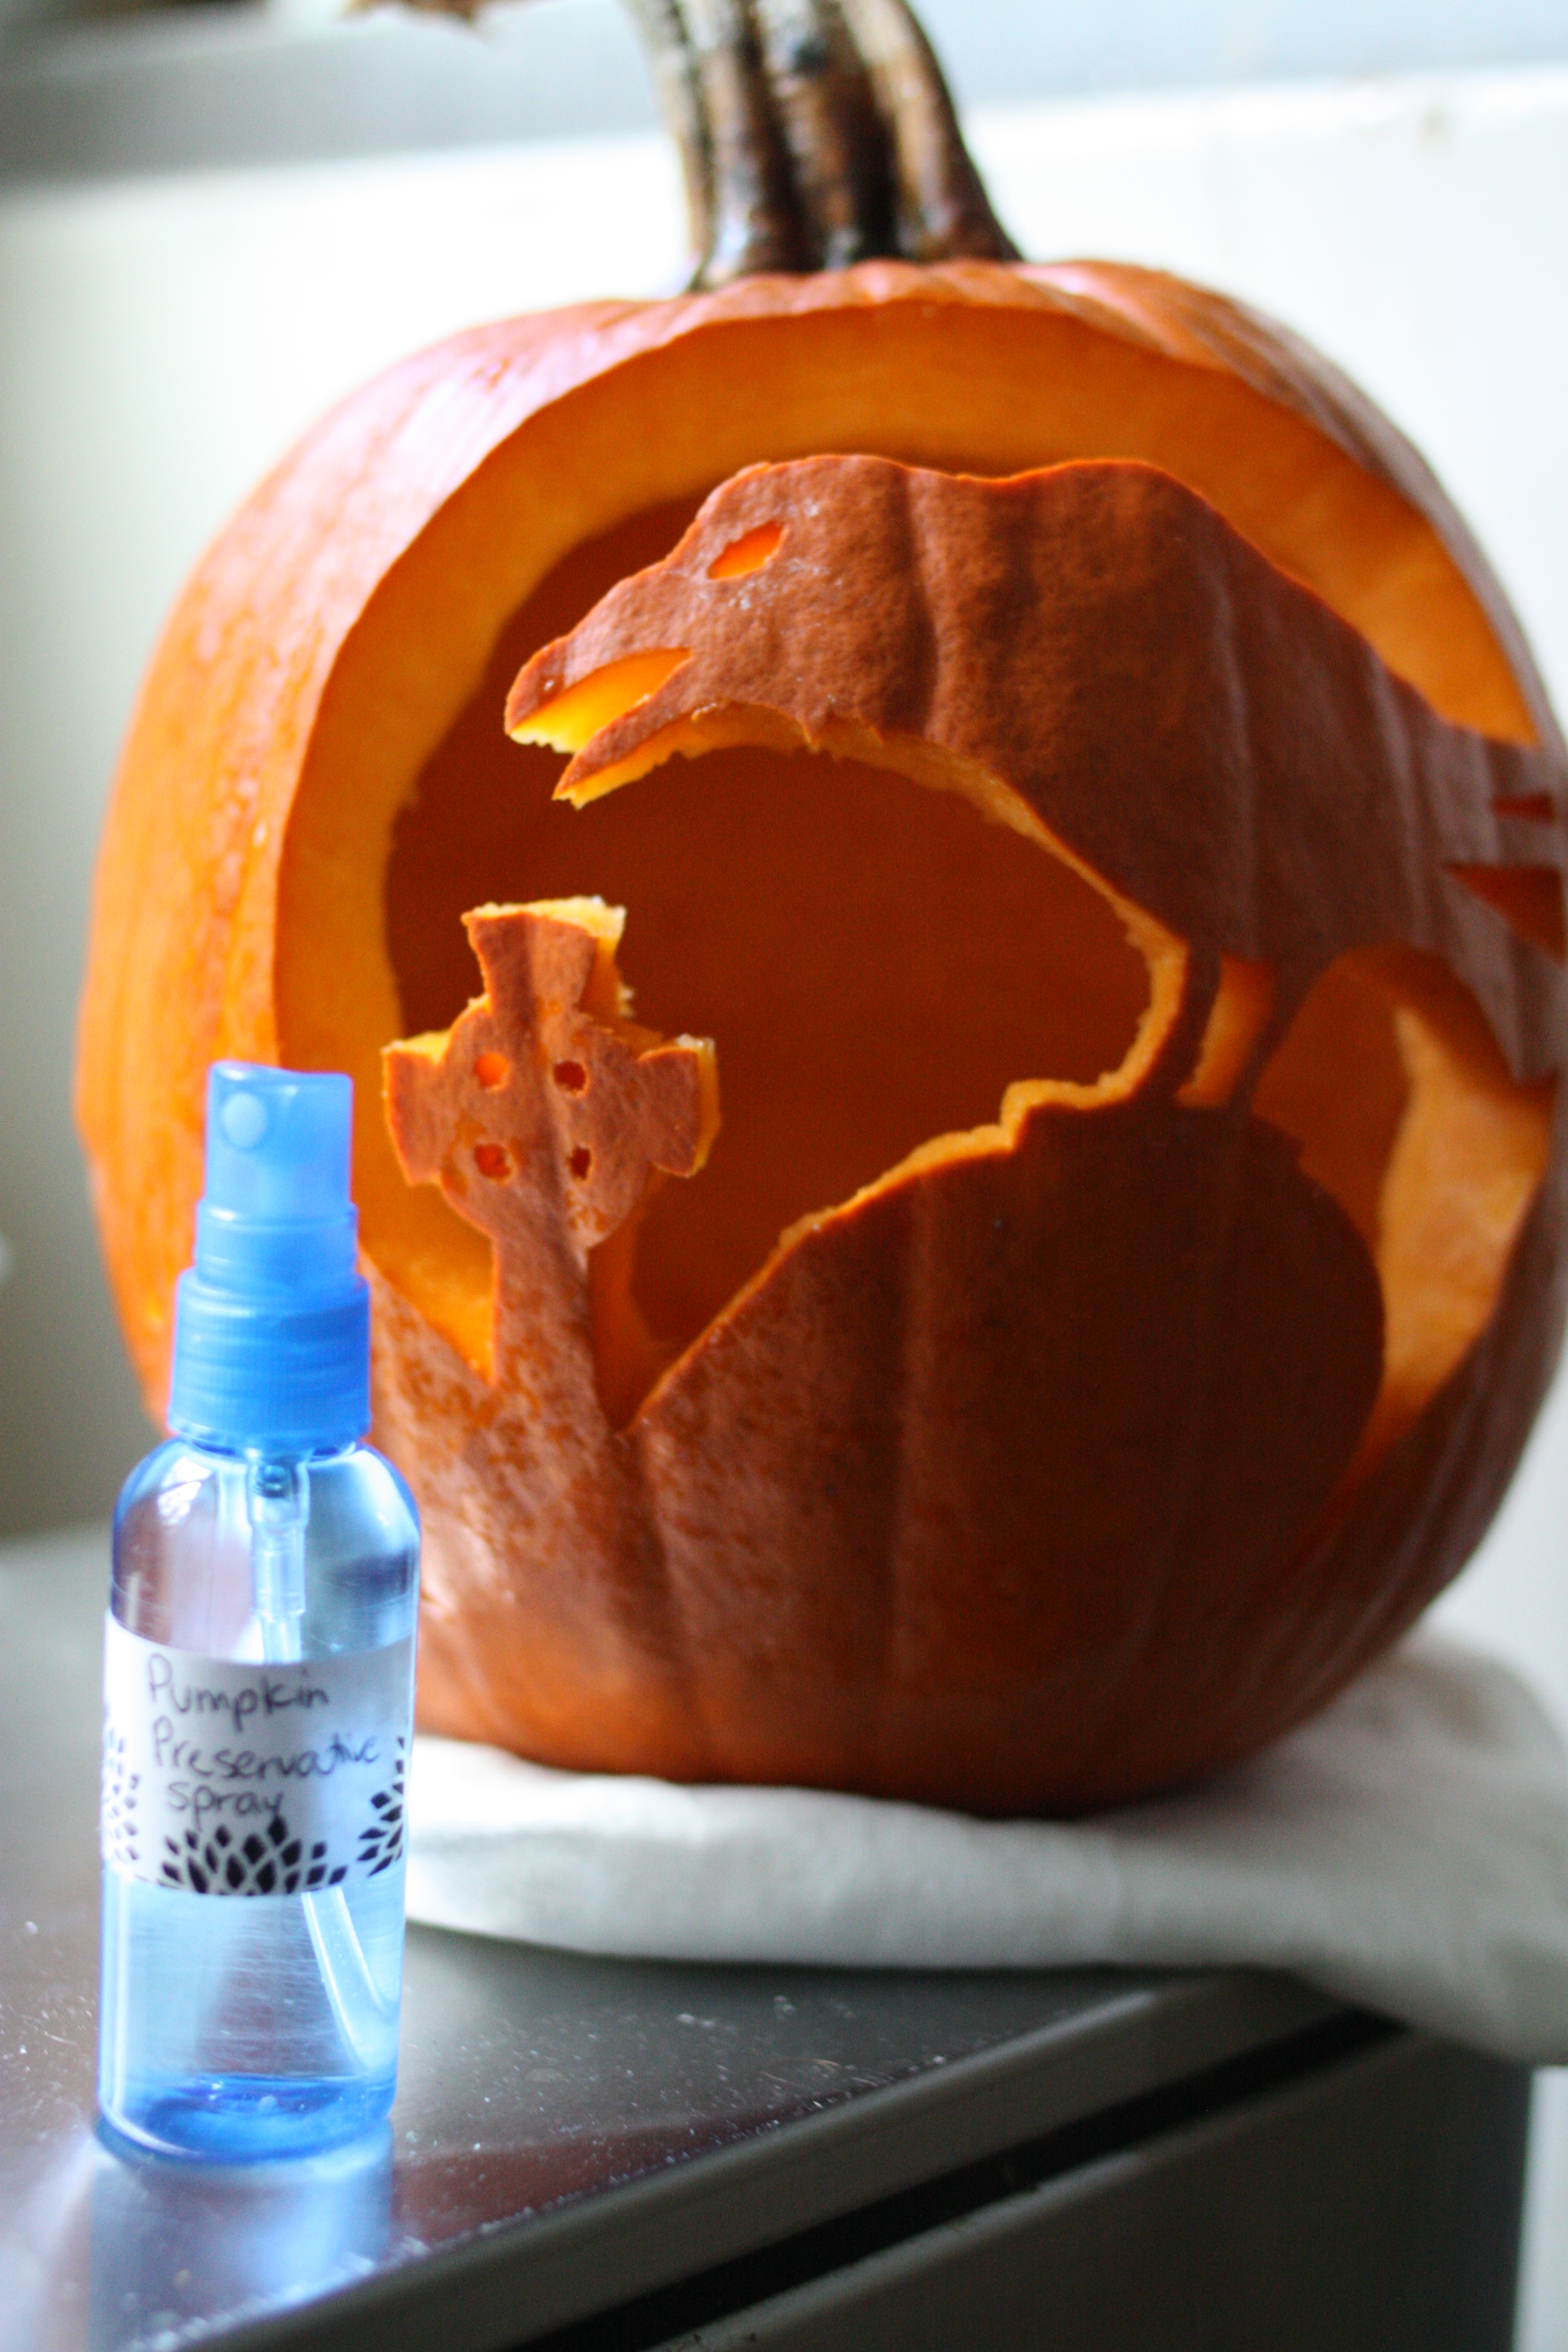
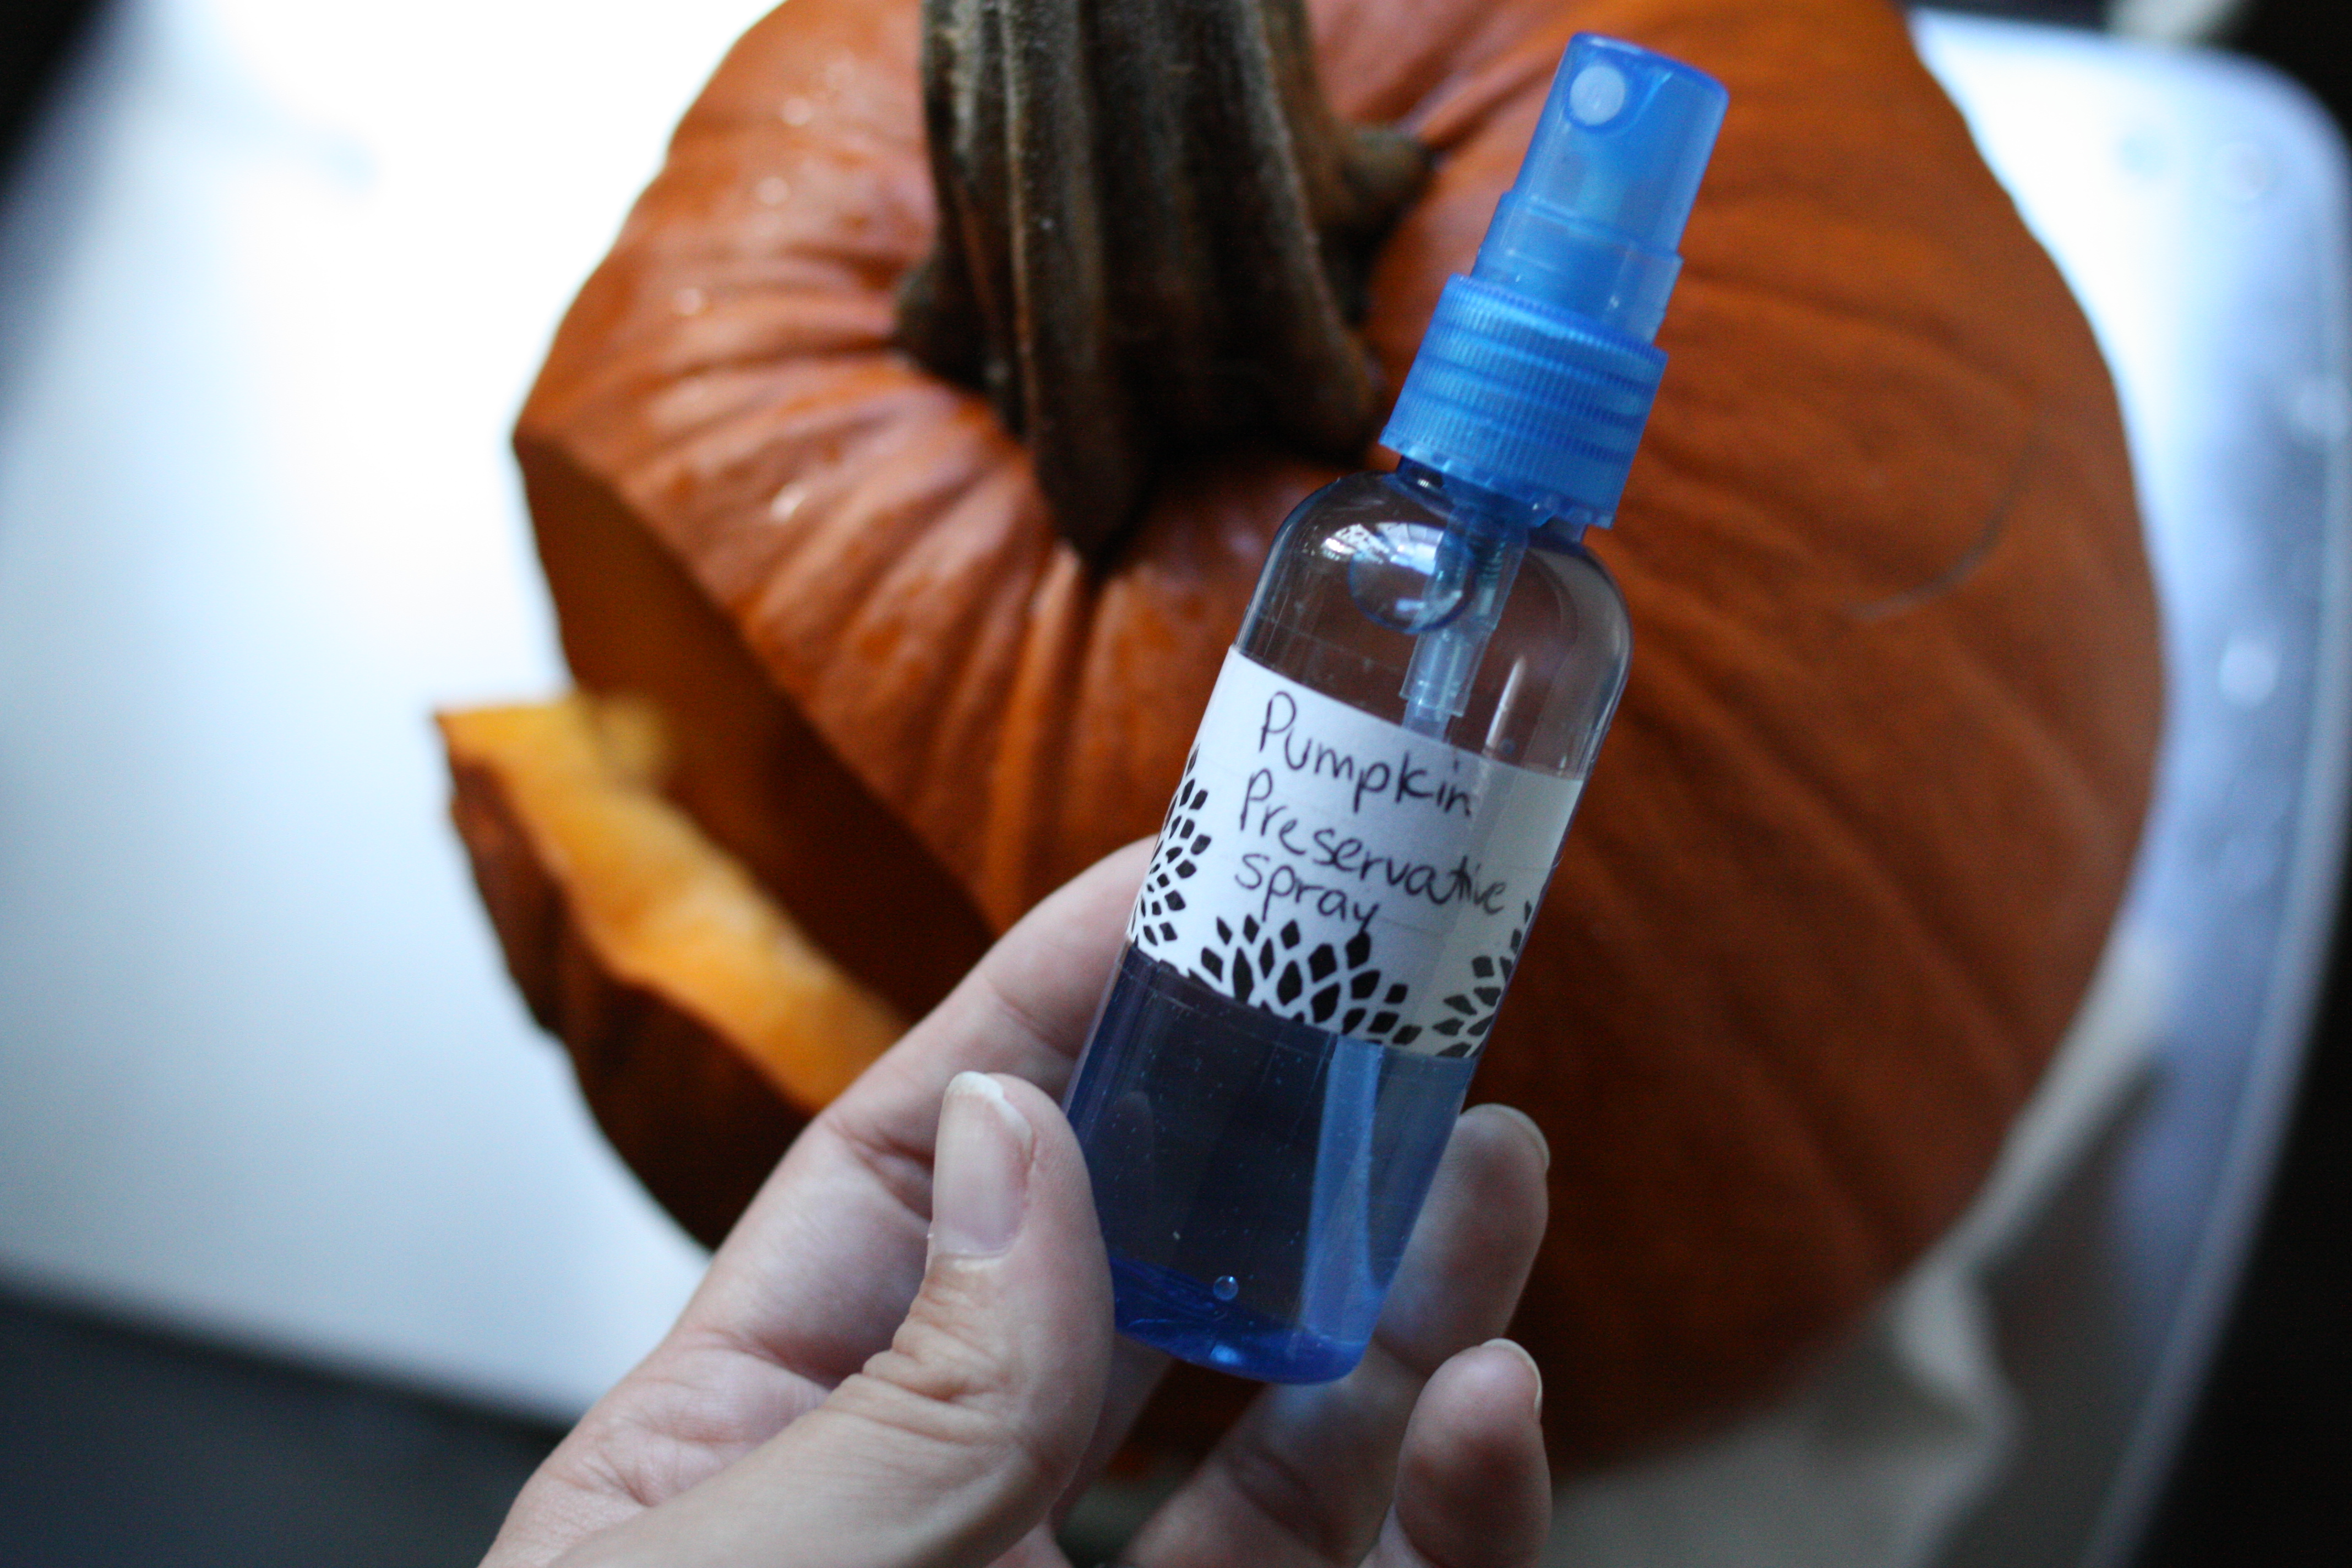
– Let air dry, then spray the inside and outside with a mixture of 1 teaspoon of bleach in cold water before smearing petroleum jelly on all the cut surfaces. Re-apply as necessary to protect cut surfaces from air and spray your pumpkin with preservative spray daily to discourage the growth of mold. I just mixed mine in a travel spray bottle labeled with a cut Post-it covered with clear tape. Quick + easy. Make sure you remember not to re-use the spray bottle for anything else though since bleach is a chemical. Once we pack up our Halloween decorations, I’ll probably just store it (rinsed and dried) so I can re-use next year.
– If you can, store your pumpkin in the fridge when not in use. Protect from heat, direct sunlight and rain.
General Tips
– Don’t carve the top. Leaving the stem intact helps the pumpkin retain moisture. I also found that I gained more surface carving space at the top and had an easier time accessing the flameless candle by carving the hole in the bottom.
– Use a flameless candle. I love the look of a flickering candle too, but it dries the pumpkin out so we switched to some flameless ones I found on Amazon. Inglow is my favorite brand because the candles have a wax exterior so they feel like real candles. I also found that their glow and flicker is a bit more realistic than other brands.
—
Hope some of these tips help! Don’t take my word for it, try them out; I bet you’ll be pleasantly surprised. So far, my pumpkin is mold free. And if you have any tips that you have found particularly effective, I’m love to hear them.

Wow awesome tips! Didn’t know any of this. I only wish this post came out a week sooner because my carved pumpkin is already mush and in the trash haha. You should update this post and let us know how long your pumpkin lasts 🙂
Definitely will do that. Good idea! So sorry your pumpkin is mush already. 😦