
 Today is my college roomie’s 29th birthday! Since the big 3-0, is around the corner for us both, I wanted to commemorate this last year of our 20s with something special. So I drove to the liquor store to pick up her signature Stoli Razz, dove into my photo archive, and busted out my favorite craft glitter.
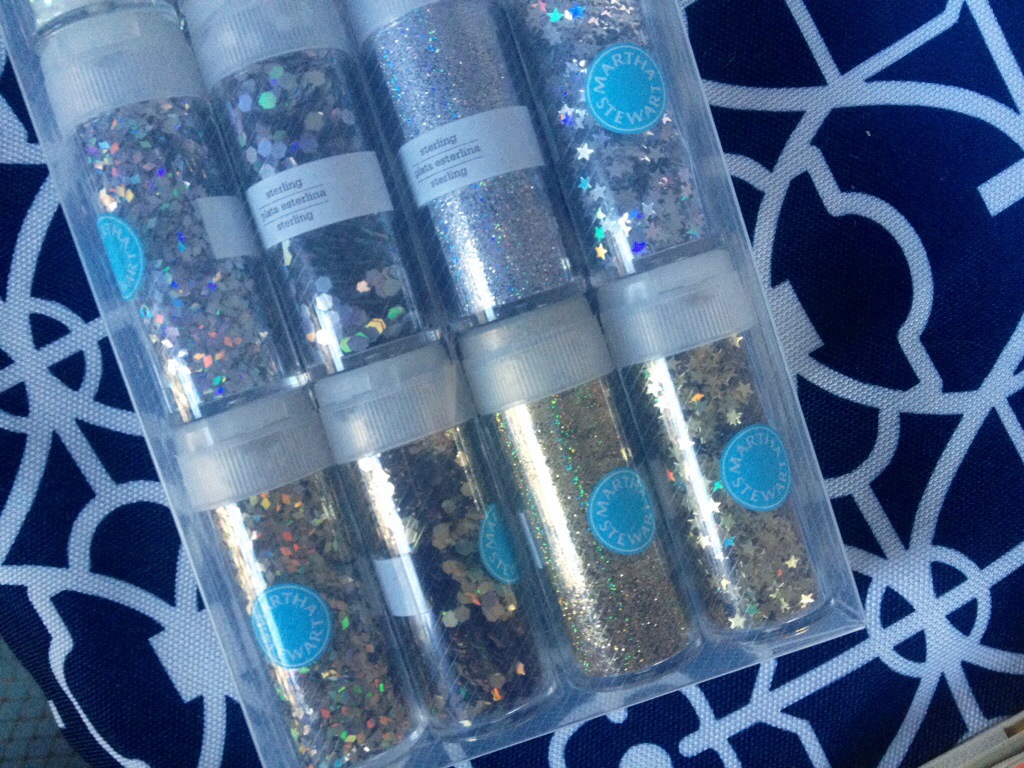
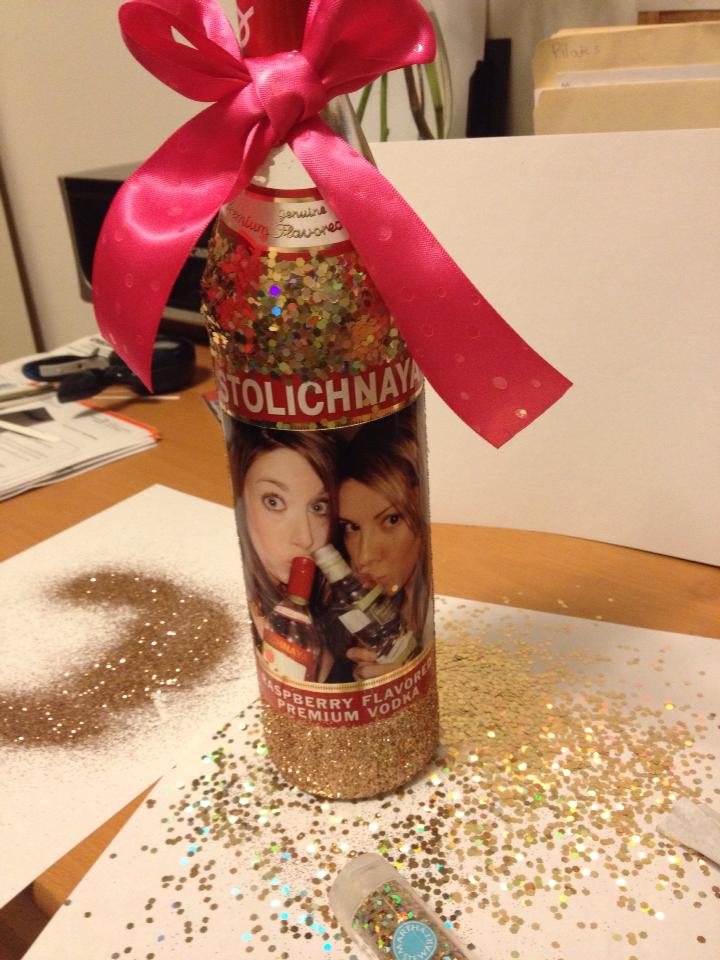
Photo selection was surprisingly easy. I’d planned to use a fun photo of the birthday girl alone, but when I found this one of her smooching her preferred libation it was too perfect to pass up.
Assembling was fairly simple but I shared some tips below that might help in case you want to re-create. I love how it turned out and want to gift them to everyone now. Wouldn’t they be perfect for a wedding, bridal shower, bachelorette party or anniversary gift, using champagne? I might even skip the picture and just do the glitter all the way up to the foil. Then I’d just add some curled ribbons and a sweet message for the honoree(s).
Commemorative Photo Glitter Bottle Project Supplies
– 1 portrait-oriented photo or you can cut to size (like mine)
– Elmer’s Craft Bond Acid-free Multi-Purpose Spray Adhesive
– Gorilla Glue (to attach the bow)
– Mod Podge
– Large-head paint brush
– Glitter
– Ribbon tied into a bow
– Paper (to catch excess glitter)
Tips and Tricks
– I printed the photo on archival photo paper since I want the quality to hold up over time. You could use a medium-weight card stock too, but plain printer paper probably won’t hide the bottle label and peeling it off is usually difficult so your best bet is to just cover it.
– I hadn’t planned to leave any of the label or bottle un-glittered, but when I placed the photo it nearly fit perfectly within the gold border just below the brand label so I just trimmed it up and went with it.
– I used the Craft Bond spray adhesive for the back of the photo then slowly placed it onto the bottle, but opted for the mod podge for applying the glitter. I didn’t want spray adhesive to get on the photo and make it sticky and thought the mod podge would help ensure heavy glitter coverage.
– I found it incredibly useful to use a large paintbrush (not a foam brush) to apply to mod podge.
– I placed the bottle on top of a piece of standard letter-sized paper and painted the mod podge all the way around from one side of the label to the other, then shook the glitter directly onto the bottle as I rotated it. Half-way around, I carefully shook off the excess and swapped out another piece of printer paper so I could re-use the excess glitter. Then I repeated the shaking off of the excess and just used the paper to funnel the excess right back into the jar so there was no waste and minimal clean-up
– Make sure you apply the glue to the entire portion you plan to glitter in one try before you glittering to avoid having to go back in with a sticky paint brush to touch up the teensiest sliver of a section while avoiding the placed glitter like I had to. (It was a tricky mess!)
– Since I wanted the bow to be placed on the neck of the bottle, I decided to do a second simple glittered band above the label using my favorite Martha Stewart “Florentine Gold” holographic glitter. I’d been hoarding this for a special occasion (because it is gorgeous!) and loved the texture contrast it provided.
– Then I glued the bow using Gorilla Glue and clamped it with a large chip clip to dry.
– Finally, spray the glitter with a sealant to prevent glitter-loss
—
Hope you enjoy trying this one out! Happy glittering.

This is so sweet and sentimental! Who wouldn’t love this?! I agree that it would be sweet as a centerpiece for a shower too!!